A lip tint can look quite different depending on where you put the color. A little through the middle gives you that soft, just-bitten look. Take the same shade all the way to the edges, and suddenly it feels much more dressed up.
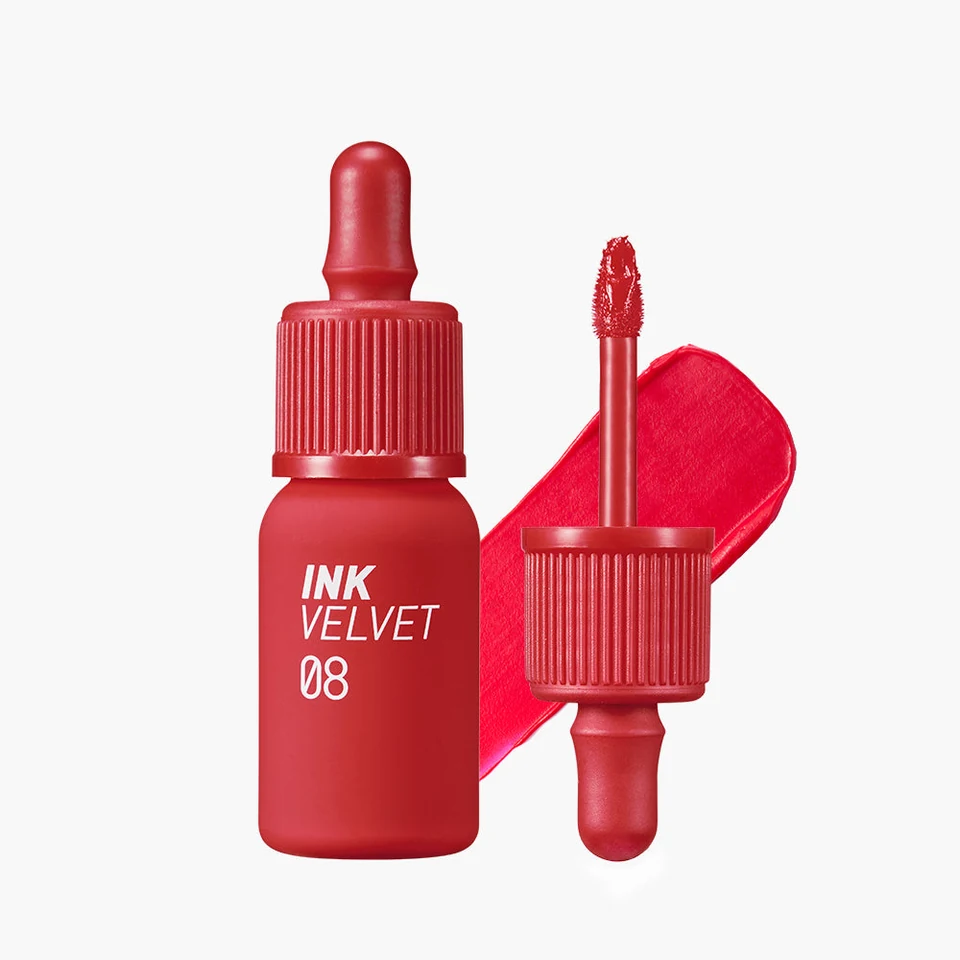
You don’t need a separate tint for each look. Start with less color, then decide how much of your lip you want it to cover. These two photos show the difference with the same Peripera Ink Velvet shade.
In this article
Same tint, two very different moods
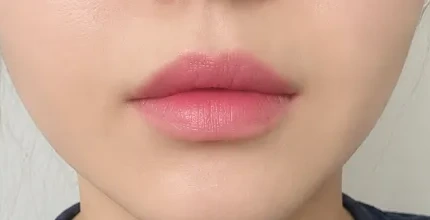
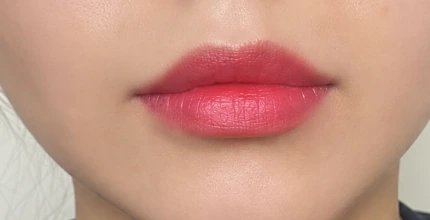
In the gradient version, shade 08 stays strongest toward the middle. The full-lip version carries that red color out to the outline. The reviewer preferred the softer application; it’s a useful option when a shade you love feels a little too bold straight from the wand.
Think of gradient as placement and full lips as coverage. Full lips don’t have to mean a thick layer, and a gradient doesn’t have to look dramatically pale around the edges.
A little preparation makes blending easier
If your lips feel dry, moisturize them first. A tint is easier to spread over a comfortable surface than over loose flakes, especially with a soft-matte formula. Piling on more color tends to make those uneven areas stand out.
You can use a little concealer around the lip line for a deliberately muted outline, but you don’t need it for an everyday gradient. Your natural lip color can be part of the look.
For a gradient, keep the color close to the middle
- Start small. Place a little tint on the visible inner part of your lower lip, rather than covering the whole lip at once.
- Blend outward. Use the applicator, a small brush or a cotton swab to soften the color toward the edges while it is still easy to move.
- Balance the upper lip. Add a little there too, keeping the strongest color toward the center.
- Pause and look. If you want more depth, add it to the center. Leave the outline lighter and softer.
A brush or swab is handy if you’d rather not stain your fingers. Peripera’s directions also start at the center and work outward, so this is a straightforward way to get familiar with the tint before building a stronger look.
For full lips, spread the color—not just more product
Begin near the center, then guide a thin layer toward the corners. Follow the upper lip line and fill in any gaps. The difference from a gradient is that the color reaches the outline, rather than fading before it gets there.
Check both lips before adding another layer. If one corner looks bare, touch up that corner. There’s no need to coat everything again just to fix a small gap.
The second coat changes more than the intensity
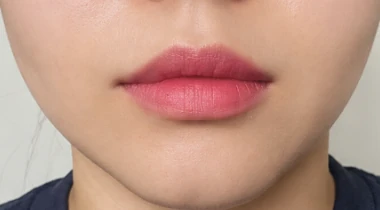
With shade 08, a second coat makes the color look fuller. Shade 24 gives another useful example: the review describes a thin application as a softer nude coral-beige, while a thicker swatch looks deeper and more rose-brown.
That is why an arm swatch can feel stronger than the everyday lip look you had in mind. Before ruling out a shade, look for a lighter application too. A reviewer who found shade 16 too strong on its own liked a small amount through the center over another tint.
If it looks patchy, don’t keep chasing it with more tint
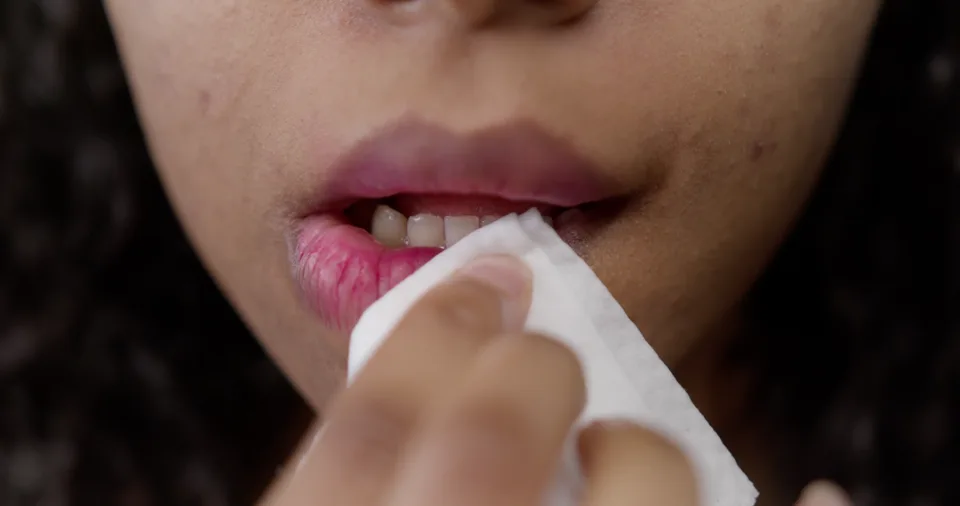
Soften fresh edges while the product is still workable. Once a layer has set, repeatedly rubbing it can make a tidy application harder. If you need a complete reset, use a suitable lip-makeup remover according to its directions, then start again with less product.
The shade 39 review is particularly useful here: flakes and repeated layers made the finish look heavier. If your lip texture is already showing, a thicker coat is unlikely to give you the softer look you’re after.
Which finish would you like to try?
For a soft-matte look, see the Ink Velvet shade guide. If you like a glossy surface, take a look at Ink Mood Glowy. Our Velvet versus Glowy comparison puts their different looks side by side.
Prefer a watery application with a blurred finish? The 3CE Blur Water Tint guide explains how that style builds.
Three Korean words you’ll see in tutorials
Approximate pronunciation
- 그라데이션 립
geu-rah-deh-ee-shuhn lip
Gradient lip - 풀립
pool-lip
Full-lip application - 덧바르다
duht-bbah-reu-dah
Apply another layer
For more, keep our Korean beauty-review vocabulary guide nearby when browsing swatches.










Leave a Reply